Roasting Guide

Roast at Home
HOME ROASTING BASICS
If you are an avid coffee lover, like we are, we highly recommend learning how to roast your own coffee. It is easy to do and you can do it in the comfort of your own home! There are a few ways you can roast at home, first is on your stove. Using your stove is an excellent DIY method of roasting coffee because you are able to control your temperature. The two pieces of equipment we recommend for stove-top roasting is a plain cast iron skillet or a stove top popcorn popper. Both methods are good and the most important, is to ensure the beans are moving throughout the entire roast. If the beans aren’t moving, the beans may not properly cook evenly and would effect the taste of your coffee. With a cast iron skillet, you would be practicing the oldest form of roasting coffee! For both methods, it is very important to have proper ventilation because roasting causes a lot of smoke! If smoke is an issue, the grill will work just as well on high heat. The second method for a DIY coffee roasting would be the popcorn air popper method. This method works very well for at home roasting as the beans are consistently moving, you just have to keep a watchful eye on the roasting as once it is hot enough, it does tend to go quickly. With home roasting, be aware, you are dealing with high temperatures, some loud “cracks” and some smoke. If your are ready, the steps are here for you!
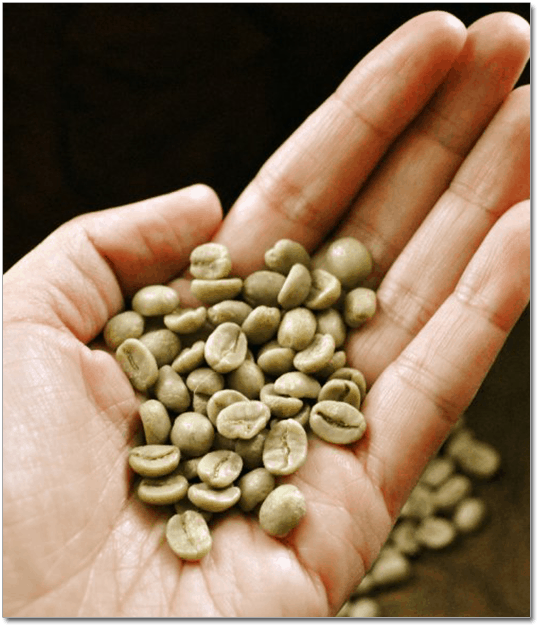
Before you start roasting, be sure to have all of your items ready: Coffee, Roasting Device, Oven Mitts and a Sheet Tray (to put beans in after they are cooked). You will always start with green beans, no oil is necessary with roasting coffee, the ideal temperate range is 375 to 500 degrees, and it should take anywhere between 11-14 minutes to get those beans to the roast you are looking for. Place beans in the device, and it is very important to keep the beans constantly moving during the entire cooking time. The beans will go from a green to a yellowish and then start turning from tan to brown, during this time you will being to hear a cracking noise, also known as “first crack”. It is similar to the sound of popcorn or nuts popping. This happens because the bean is rapidly expelling moisture. The first crack signifies that the bean is beginning to caramelize, and depending on which bean you are using, you may only hear a few cracks or a lot of cracks. After the cracking ends, you are at a “light” roast. After a few more minutes, more cracking will begin, also known as the “second crack”, which is much more pronounced and you should see quite a bit of smoke at this time as well. The beans are cracking during this time because the cellular structure is cracking. Once the second crack has started, you will see the beans turn into a medium roast, if you prefer this roast, we suggest removing the bean. This color should be a nice brown, little “sweating” on the beans. The sweat of a bean, is when the oils start coming out of the bean, which also signifies you are on your way to a dark roast! Once all the beans have begun sweating, you are at a dark roast. If you prefer an espresso roast, continue for about 30 seconds further than the dark when the beans are very dark brown and completely sweated.
Although it can be overwhelming picking out some different beans to roast at home, we suggest you call us so we can pair you up with what bean we think would be the best fit based on your current coffee likes. If you would like to experiment some more, we have a perfect solution “A Taste Around the World”, which features 13 different single origin coffees, some of which are our top sellers. This variety pack comes in 2 oz bags and is the perfect start for any DIY home roaster! If you have any questions or looking for some tips in home roasting, give us a call and we can help you along the way!


